Say you want to replace an electrical outlet in your kitchen, and the box is damaged. You can easily unscrew it from the wall, but what about the wires? What if they’re corroded or burned? How do you know exactly where to cut new wire leads? Luckily, there are ways of safely replacing an existing outlet without having to cut any wires.
1. Unplug the appliance from the outlet
Don’t use a power strip or extension cord to disconnect the appliance from its power source; this will only cause more damage and risk to you and your home if something goes wrong with it while you’re working on it (and I’m sure we’ve all seen those things blow up).
Do not use multi-plug adapters. They are dangerous because they allow multiple appliances to share one outlet, meaning there’s more space for electricity to travel through, and that’s bad news when an electrical fire is nearby.
2. Turn off the power
Turn off the power to that outlet at the breaker box. You can find your breaker box by looking for a small panel on or near your wall, usually close to an electrical outlet.
Call your local electrician if you need to find out where it is. Once you have located it, turn off its corresponding circuit breaker (also known as a fuse). When you want to replace an electrical outlet, there should be no power, which may lead to electrocution.
3. Use a voltage tester to confirm the power is off
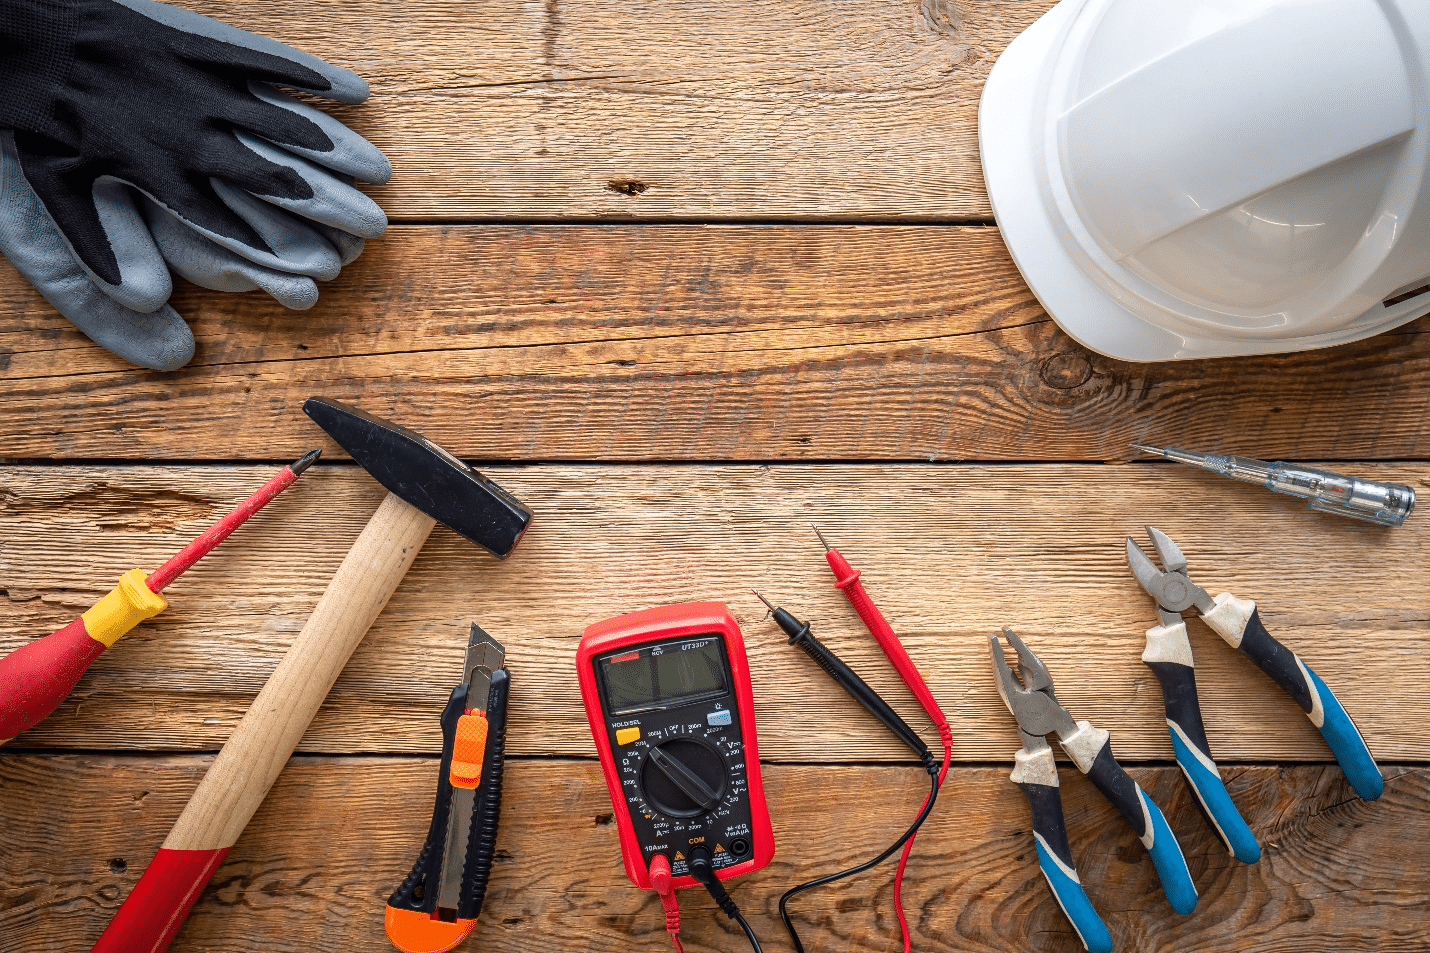
If you’ve already checked the ground, it’s time to use a voltage tester. A voltmeter is what you’ll need for this step. Ensure that your outlet is unplugged, and then plug the cord of your voltage tester into one of the prongs on your electrical receptacle.
If all goes well, no matter where you put the probe tip, the top or bottom of an outlet, the red light should come on when you push down on it; if not, there’s something wrong with either your outlet or its wiring. In either case, don’t panic.
4. Remove the cover plate with a screwdriver

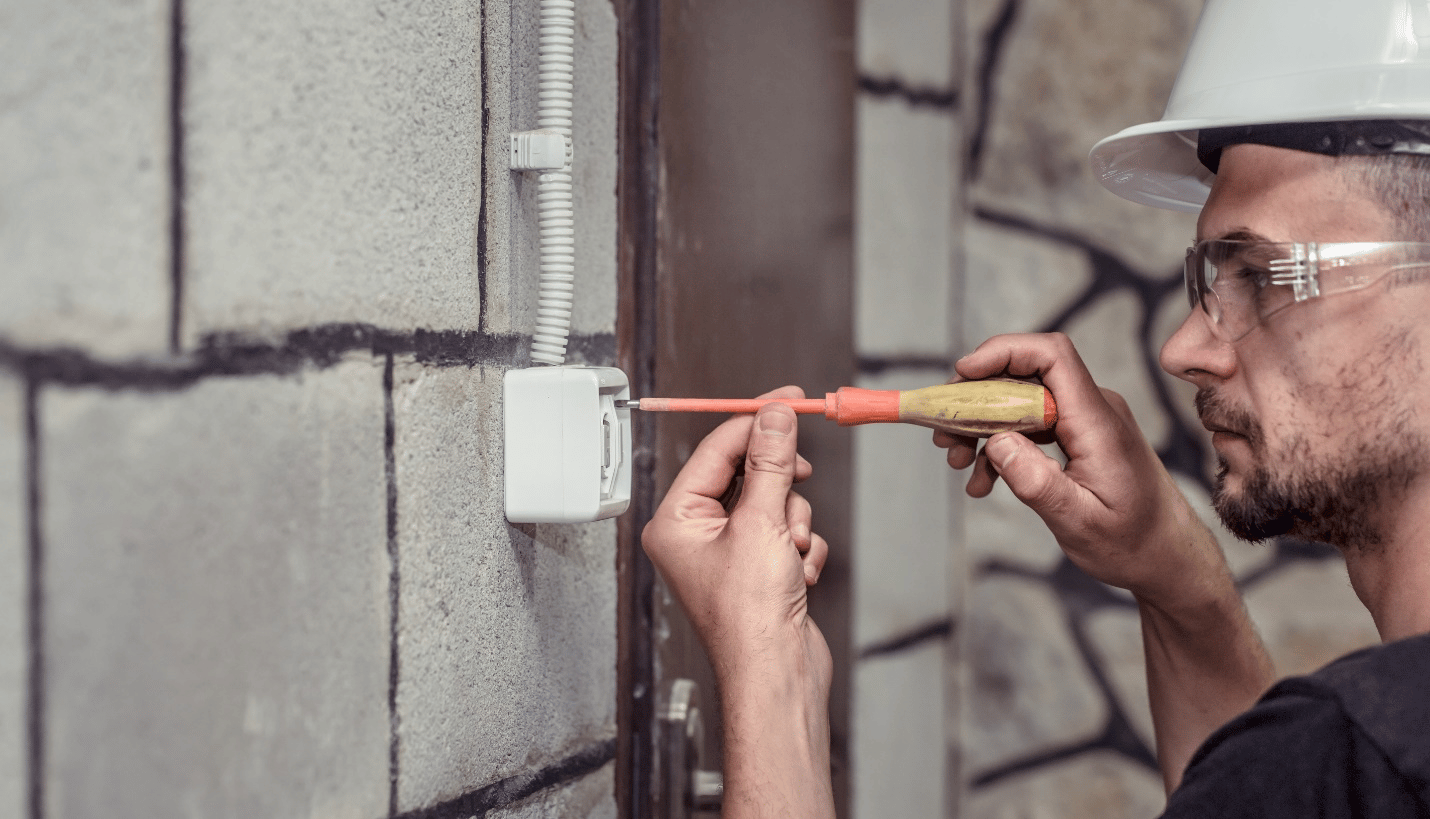
To remove the cover plate, use a screwdriver to unscrew all the screws holding it. Once you’ve done that, you can withdraw your outlet from the wall.
When it comes to wires, there are two main options: Leave them alone and connect them later (this will depend on what type of electrical work you’re doing), or disconnect everything and connect each wire individually before moving on to the next step.
5. Unscrew and remove the outlet from the box by loosening the two screws that hold it to the wall
Ensure to hold your hands on each side of your electrical outlet, so you don’t damage any wires when removing them, as well as make sure that none are exposed when re-inserting them later on in this process.
Once you have removed all four sides of your electrical outlet (two outside covers and two insides), use a saw or hacksaw blade that fits snugly into its grooves, along with some pliers if necessary.
Otherwise, use a flathead screwdriver blade instead. Keep an eye out for sharp edges where they meet each other, so you don’t accidentally cut yourself while working around them.
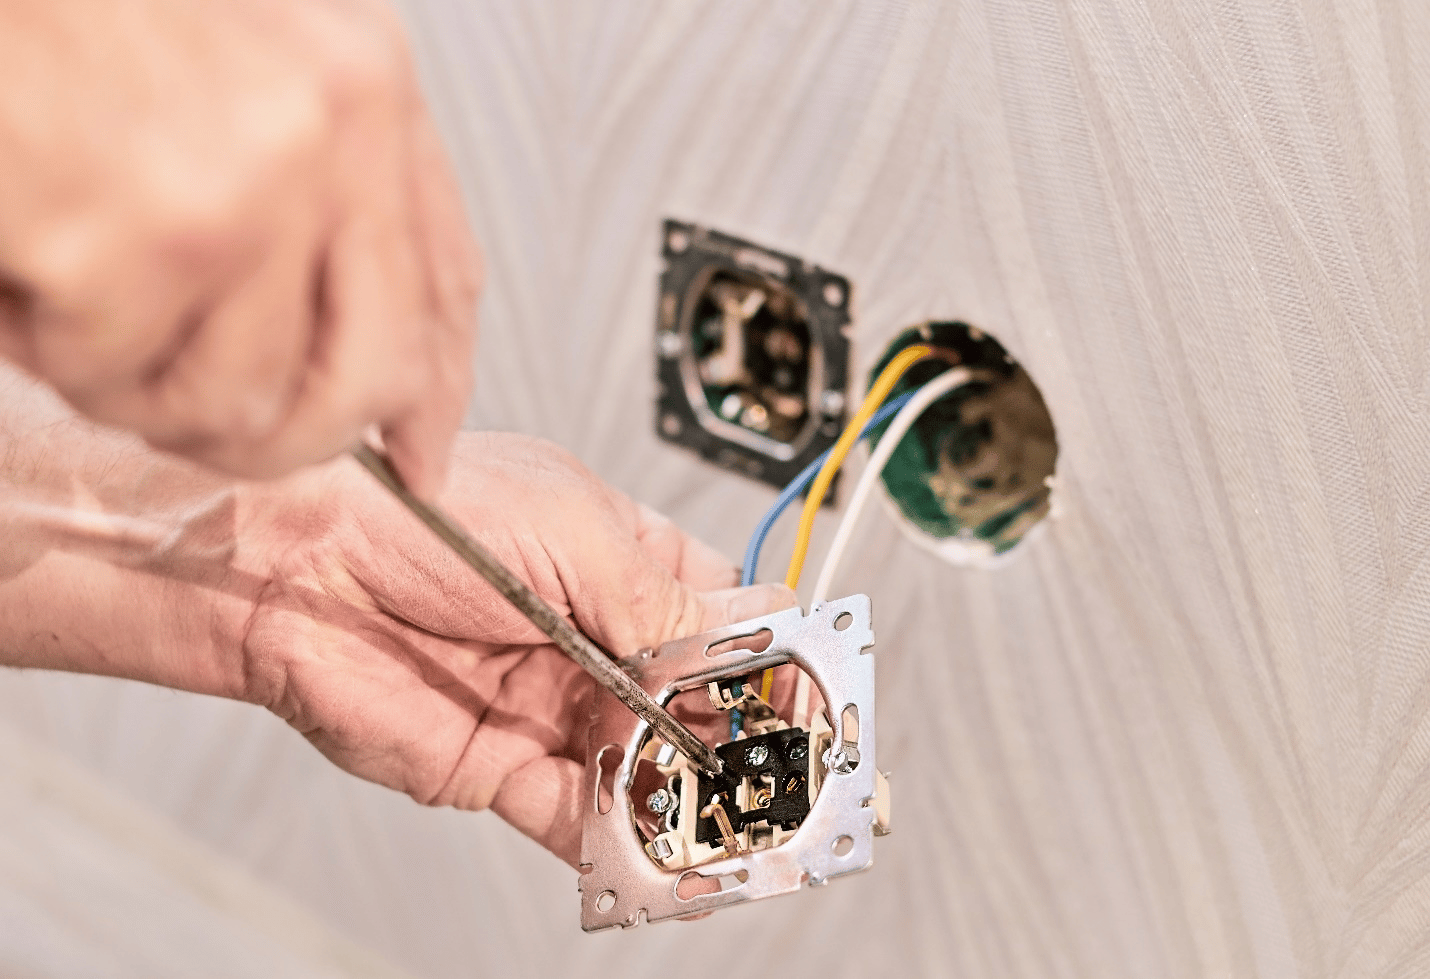
6. Pull out the old outlet and disconnect it from the wires behind the receptacle
To remove an outlet, you’ll need to pull it out of your electrical box and disconnect it from the wires behind the receptacle. If you have a screwdriver handy, use that to pry open the cover of your electrical box. Then use another screwdriver or a pair of pliers to remove any screws holding in place any other parts (like switches) inside.
Once all that has been done, gently pull on one end of the outlet until it disengages from its mounting bracket or screws, holding onto other parts. You may have to lift on one side or both at once depending on how far down into your wall cavity it’s attached; be careful not to damage anything as you do so.
Once this has been done safely and efficiently, turn off power at both ends (if necessary) before removing any cables connected directly to the outlets. Remove the plugs/adaptors so that no harm comes from changing them out when needed later down the road after all replacements have already been made.
7. Inspect for damage or corrosion on all wire connections in and around the electrical device box

When you’re replacing an electrical outlet, it’s important to inspect the wires for damage and corrosion. If a wire is damaged or has declined, there may be a risk of electric shock if you plug in your device. Corrosion can cause short circuits that could lead to fires or explosions.
It’s also important to check for fraying and chaffing on the insulation of your wires. Fraying happens when one piece of wire gets stretched too far and frays at its ends.
It makes it easier for water (and other liquids) to penetrate through them during rainy weather and winter exposure.
Chafing occurs when two pieces of metal rub against each other so much that they become permanently bent outwards towards each other instead of straight like normal steel should be.
8. Connect new outlet with pigtails if needed before wiring
Before you wire the new outlet, ensure all the wires are connected and ready. Connect pigtails to existing outlets. If you have detached your existing electrical outlet from its box, use these pigtails to connect it with its replacement.
Make sure connections are correct: Once you connect a pigtail (and ground), check for any loose connections or open circuits between them by turning on each circuit individually and detecting gaps in their respective lights or sounds.
This step is important because if there is an issue with this part of the wiring job, it could be difficult or impossible to fix later on down the road when things get more complicated, as they inevitably do when working with electricity.
9. Wire in a new receptacle and reinstall device and cover plate
Once done, check for any other damage to the electrical box. If none, test lights or your unplugged appliances. If all goes well, they should work as they did before.
Best electrical practices for safe outlet replacement

Foremost, it’s important to replace the outlet because of safety concerns. If your home has old electrical wiring that needs to be replaced or repaired before someone can use it safely, this is one of the first steps in getting all your equipment up-to-date with modern standards and practices.
Second, replacing an electrical outlet means there’s less risk involved than simply adding one yourself. It is especially true if you have limited experience with electricity or don’t know how much power goes through each circuit, which can differ depending on the circuit’s origin. It means hiring professionals who know what they’re doing.
Third, there are many benefits associated with having a fresh new fixture. Not only will it look nice, but it’ll also make a difference in energy efficiency.
Other benefits include:
Warranty coverage: New fixtures usually come with a warranty, which gives the peace of mind that if something goes wrong, it will be replaced.
Improved safety: Old fixtures can wear out and become unsafe. A new fixture can ensure that your home is safe for you and your family.
Improved functionality: A new fixture may have updated features that provide better performance and ease of use than an older one.
Increased property value: Upgrading fixtures can add value to your home if you ever decide to sell, buyers may find it as an added feature.
Conclusion
Now you know how to replace an electrical outlet safely. The steps in this article are pretty simple, but the reality is that not everyone does them correctly. It’s important for everyone who works on electrical circuits or installs new fixtures to understand basic safety rules and take steps to protect themselves from injury or fire.
If you follow these tips and precautions, you can avoid accidents and ensure your home stays safe. Alternatively, you can consult professional electricians to replace the electrical outlet. Tercero Inc. is your perfect choice if you want to work with professionals. Contact us to book a consultation.

